Bowsprit blues

Hi,BCC Newbie Matt here again,
Yesterday I stripped the bowsprit with a heat gun and sanded it to let it breath by the stove over night.
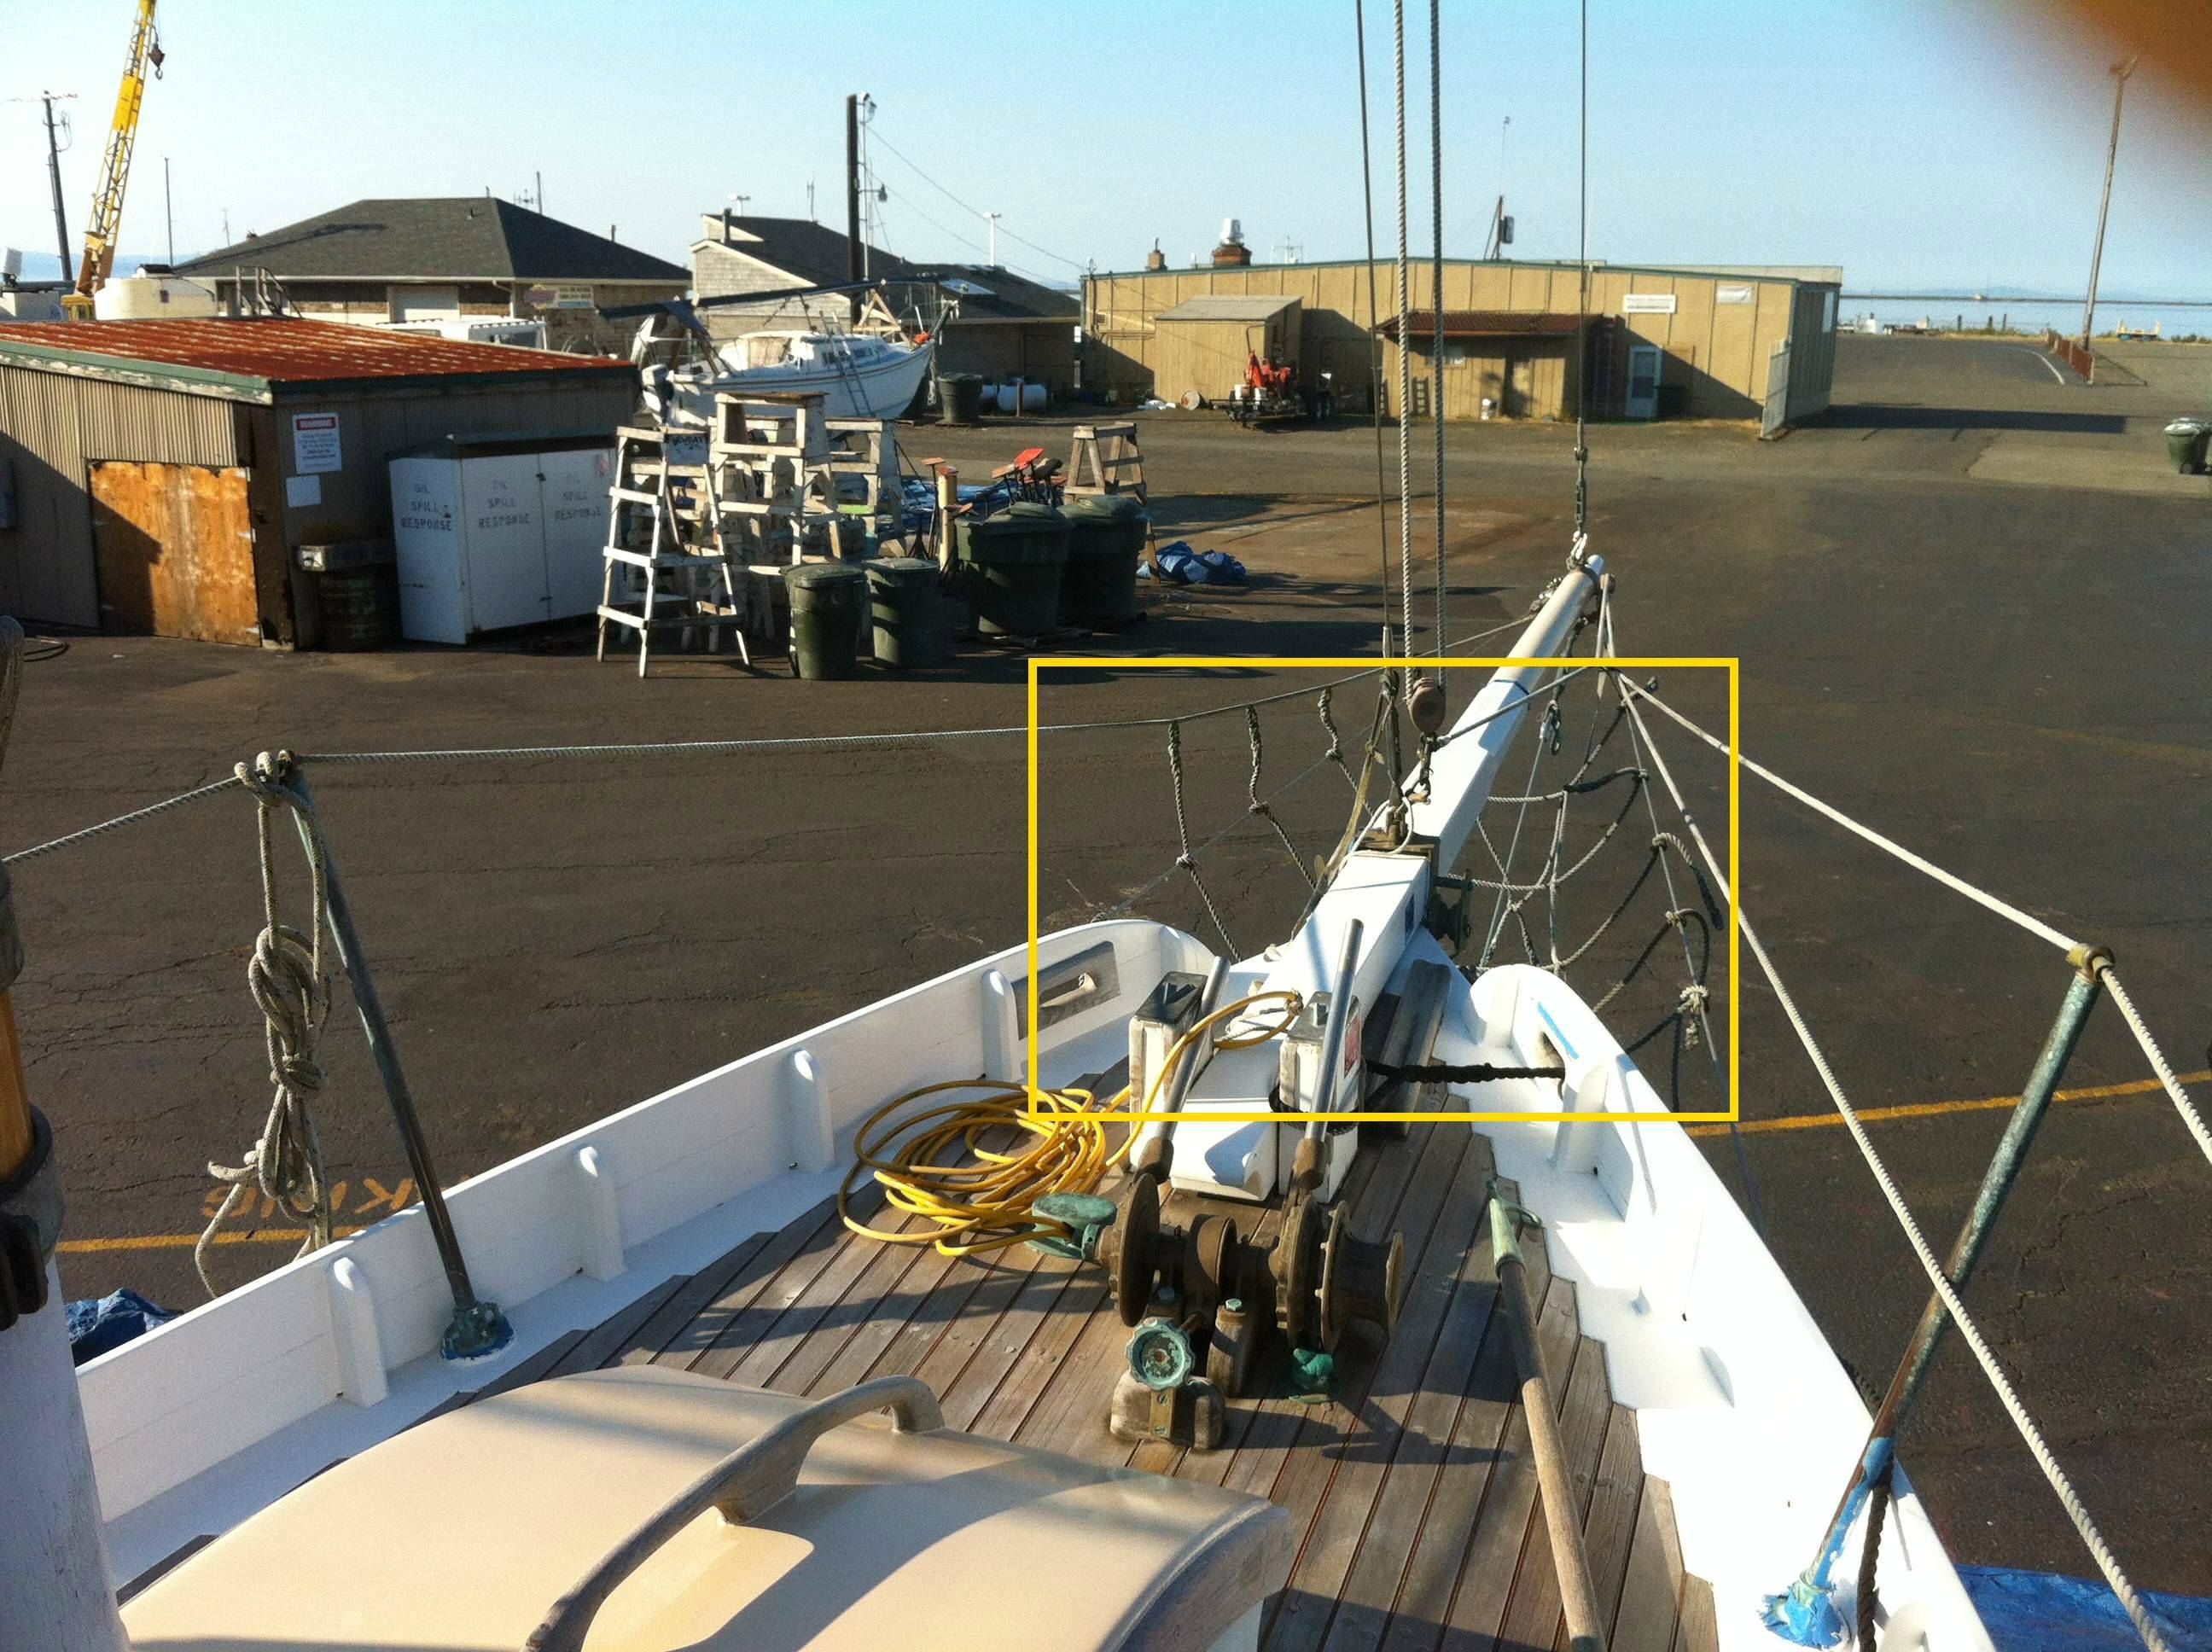
This morning I was planning to do some superficial repairs, splining some large screw holes etc when I discovered that the bottom face of the sprit where the cranse-iron fitting was bedded has dryrot.
I have cut out 98% of the rot and it is primarily located in the center plank of the three that compose the turned round end of the bowsprit and of course at the bottom where moisture resides.
If I were to cut a cross section through the sprit, I would say that 25%-35% is gone. It was impossible to detect when the fitting was in place.
The fitting was bedded in what looked like red polysulfide and was a bear to get off, I had to heat it with a torch and pound it off using a block of wood and a brick hammer. When I stripped the caulking it still looked and felt ok but after drying over night, it was obviously soft and so I gouged it out to clean wood with a small chisel.
It is very difficult to know when the wood is solid because fir has such strong fibers, it’s like sisal rope all the fibers remain tough but the pulp wood is gone to hell.

So, how many of you folks have had the fitting off and has anyone had to replace a bowsprit yet?

This would be a particularly difficult sprit to build given its 11.5ft length and the curlicue on the aft end, also turning the forward part would only be possible with a shipyard lathe so sawing it would be the only way I could go.

The top of our sprits are flat while the sides and bottom are tapered so the cranse-iron sits off center at the top so of course turning would be even more challenging, seems like a jig will have to be made to guide a saw.
The cross-mortise at the sampson posts is also difficult without the bigass mortise machine I suppose that they had at the yard.

If I have to build one, does anyone else want one? The set-up for the cuts will be much of the work plus locating the 12ft 1X6’s in vertical grain douglas fir will be challenging based on previous experience.

If I were to build a new one I think I would incorporate a limber hole at the bottom to allow drainage. I think a 1/8" channel running lengthwise and open out the aft bottom end of the cranse-iron.
When installing the cranse-iron I will use a piece of cord in the channel to keep it clear of caulk and pull it out before the bedding sets up so as to leave a clear drain slot. Or at least drill a hole in the fitting and somewhat into the wood.

Anyone got a spare?

Matt

s/v fiddlers green

Private message me with your e-mail address. I have the part list and original suppliers for all parts in Excel format. However, the sprit is not listed; I believe it was made by Sam L. Morse Co.

Matt,

I believe David with S/V Rose has a spare bowsprit.  He built a new bowsprit to handle a bowsprit traveller and a Gaff rig and his old one may be what you need as it was for a Marconi rig.

I remember seeing Rose for sale so I think he would be happy to find a good home for it.  His rebuild blog may be of some help too, he kind of went over the top on the refit.  http://bccrebuild.blogspot.com

PM me if you need his email address.

Rich
S/V Vixen

Hi Rich, Thanks much, how can I reach him? I already did the leg work to find the material but I am not fully resigned to the project. I have built bowsprits and they are challenging projects particularly when you are not set up for it.
I don’t suppose that a mid 80’s sprit would differ too much from my late 70’s one?

Matt,

Sent you a PM

Rich

Matt: Hi!

So, how many of you folks have had the fitting off
and has anyone had to replace a bowsprit yet?

I think you’re missing out one of the gems of this forum: that it holds three decades of BCC owner history.

Should you do a search of those three decades, you’ll find a few owners who have built new bowsprits and removed cranse irons.

Rot, a collision, a tsunami, an accident in a boat yard - those are the causes for replacing a BCC bowsprit that stick in my memory.

In amongst the discussions of bowsprit replacements, you’ll find that some BCC bowsprits were shorter than others, some made of different timbers, and some are held in place with throughbolts instead of a fid and mortise.

John Cole is the current custodian of our 30+ year archive. And it’s time that we organised another fundraising drive to repay John for his past and future efforts. John is the one who defends the archive from the multiple daily hack and spam attacks.

This would be a particularly difficult sprit to
build given its 11.5ft length and the curlicue on
the aft end, also turning the forward part would
only be possible with a shipyard lathe so sawing
it would be the only way I could go.

Nah! Cutter bowsprits, including the BCC bowsprits, were made in the past with such capital-heavy machinery. And they are still made (although I cannot speak for Cape George Marine Works) without a lathe or a specialised mortise machine.

I had coated Zygote’s bowsprit (and most all weather deck timber) with a penetrating epoxy before first launch.

But Z’s gorgeous Sam L Morse Co. bowsprit contracted rot after three years of tropical conditions. When I detected the rot, the affected area was small enough that I could have cut the rot out and scarfed in new timber.

I ended up choosing to build a new bowsprit in teak, accepting the trade-off of a heavier sprit in the hope that teak timber would last longer than me.

I simplified the structure a little. Selected some teak, and cut it into 5 or 6 sheets so I could laminate them to avoid any twist within the timber. Had to use epoxy glue because resorcinol (which had been used in the SLM Co yard) was not available. And made the conical section in the traditional way, just using a power sander rather than a spokeshave, drawknife, and hand sanding block. Teak is tougher to work than Douglas Fir

Same with the mortise for the fid. Hand tools and power tools.

For that matter, when I replaced standing rigging and chainplates three years ago, I made a new cranse iron (of 2205 duplex steel, to avoid the compromise of 300-series stainless).

In Z’s case, the rot was on the top of the bowsprit. And just forward of the gammon iron.

I understand your idea about a limber, but I’m not convinced that would solve the problem. In fact, I’m surprised that you found rot in the area covered with what likely was 3M 5200. That suggested to me that the freshwater had penetrated from above and migrated through that central lamina. But reading your report also made me consider that that central lamina - if it was the only lamina with rot - may have been carrying the spores of the rot fungus even when the sprit was built.

So rather than building in a limber, I’d suggest putting your faith in penetrating epoxy. With the protective coating of your choice over that.

Then it’s just annual maintenance. One BCC owner, no longer with us unfortunately, pulled his mast and bowsprit every winter. He never had a problem with rot of his bowsprit or poultice corrosion on his mast.

I have mates with wooden hulls & decks who annually inject glycol/antifreeze into their timbers, hoping to poison any rot fungi.

Anyone got a spare?

If all else fails, you can always talk to Cape George Marine Works in Port Townsend, WA. (http://www.capegeorgecutters.com/BCC28/index.html). I’m sure they’d be right happy to build a bowsprit for you.

And, just in case no one has suggested it before, download yourself a copy of the ‘BCC Construction Manual’ in pdf format. Then print it out (double-sided to save paper), make up front and back covers in slightly heavier stock, staple the spine, and cover the staples with some binding tape. You should find the pdf at:http://www.samlmorse.com/?a=manual

It’s not really a “construction manual”, but some of the drawings are just wonderful. And it includes spreadsheets of materials of the sort John Cole mentioned.

Thanks Bill,
I have heard of soaking wood in glycol by wood turners. The effect that it has is to displace the water in the wood due to it’s higher specific gravity it forces the water out and thereby thwarts checking and splitting, it also prevents the wood from ever drying, it never leaves the wood and of course it also serves as a preservative. I would never consider it on anything that was going to be painted or varnished, it wont work and it adds weight.

The bedding was red polysulfide not 5200, 5200 is like hard rubber and this was different and it had a funky smell.

I think that a 1/4" hole in the bottom of the cranse iron and a corresponding 3/16" hole drilled up into the wood about an inch up in and left open to breath is the way I might go. it should allow the moisture to escape.

i think that the moisture got in there due to the delamination of the sprit boards. It seems like that old resorcinal is giving up the ghost everywhere it was used.

I have located the material to build a new sprit (rough sawn 5/4" vertical grain D fir) and I have a woodshop at my disposal.
The last sprit I made was for a Westsail 32, it was not as long as ours but it was chunkier.
To round the fore-end I sawed it octagonal and then sanded it round. I made it from sapele mahogany because it is about as close to Honduras mahogany as can be found these days and a good marine choice but heavy, I also saturated it with penetrating epoxy sealer before varnishing.
It was a difficult job to make a perfect reproduction of the original particularly because it had two critical angles cut into it, one where it toggled between the posts and another where it seated on the fore-deck and was through bolted to the deck beams. This had to be exact for the sprit to hit the center of the cranse iron and for the pulpit rails and platform to mount as before. When it was done it was heavier than it should have been but it was nice.

In my life as a woodworker I have never met anyone who can drill a hole perfectly 90 degrees through 6" material, if a person could come out the other side within 1/4" of a mark made before drilling he would be like the Magellan of drill navigation!
It can’t be done freehand (at least not by me) and also difficult with big long heavy workpiece on a drill press, to get the workpiece level and the drill plumb enough for a deep hole.

That cross mortise needs to be exact so the sprit seats against the two sampson posts equally when the bowsprit is pointed straight ahead.
I will probably cut the mortises into the five planks before laminating them together and use the old fid for alignment when clamping it up. Ill use the slow cure hardener for the epoxy and start the job in the cold shop so as to get as much time as possible for the layup.

My bowsprit is 40 years old and there is really no way of knowing how long the rot has been growing exactly but it’s probably just in the last couple of years when all the wood finish has gone to pot and allowed moisture to get in between the laminations. I know once it starts it goes fast in warm climates.

Thanks, Matt

This is a very interesting thread! Thanks Matt for writing such a detailed post on your project. I have to confess that I can’t remember for sure if I’ve ever removed our cranse iron. If I have it would not have been recently—more like 30 years ago. Shaula is 37 years old now and as far as I know the sprit doesn’t have dry rot. I will be checking the cranse iron area next week, aware that you said your rot was not detectable until your removed the iron!

Shaula’s 1981 sprit was stripped and 2 coats of West epoxy applied, then primed and several coats of enamel applied. I’m not sure when I did this but it was prior to 1988 when we did a 2 year cruise to F. Polynesia. The sprit has been removed probably 4 times, mostly for painting but once for shipping. Seattle’s winters are wet and not all that cold and I’m convinced that the epoxy coats on all the exterior mahogany (except the hatches which had sunbrella covers) has been the dry rot foil.

There was a small amount of dry rot in the cockpit coaming around the bolt holes for the jib sheet winch bronze bracket. The bracket had been sealed with a brown compound that had dried out and let water into the holes. I think it was not much of a sealant, mainly an anti fungal compound. The first owner of Misty referred to it as “baby poop” due to color and consistency. He had to replace the part of his bulwarks where the spring lines exit amidship.

I posted in 2016 about fitting SS inserts into the bits’ rabbits. This involved enlarging the rabbits which I found difficult to do accurately keeping the alignment correct. About 25 years ago I changed the fid from ash to 1” aluminum plate.

I am pretty sure that what caused FG’s sprit to fail was that the prior owner did not do any meaningful maintenance. He also had a makeshift plywood platform on the sprit that was rotting so perhaps the spores from the rotted plywood migrated into the cracks in the sprit. The bowsprit is basically solid but the joints have opened up at the surface level. I would have epoxy coated it and re-used it if not for the rot.
I still think it worthwhile for owners to inspect theirs but that “baby poop” stuff that you refer to is nasty to get off and very clingy.Not an easy inspection to do…

Question, Where my sprit sits in the square collar that is the uppermost part of the stemhead fitting, there was a compound used to fill the gaps between the sprit and the metal. It was a white, hard, non-adhesive, plasticky sort of stuff almost like gelcoat,broke into little pieces as the sprit was removed, does any one know what this is and how/why it is applied?

I seem to remember that there are two Delrin wedges (one each side) to allow you to true up the bowsprit.

The baby poop material is listed somewhere in the inventory I sent you.

I don’t know why someone thought it necessary to shim the sprit in the gammon iron. On Shaula there’s only about 1/16" of space on either side. Any shim would have to be very skinny. It sounds like someone stuck some bondo in that space on FG? Seems like maximizing air flow so as to minimize water retention around the sprit might be a good idea?

How far aft from the cranse iron does the rot go? Another possibility for the water getting to unprotected wood is that of the cranse iron pushing aft and cutting into the wood shoulder. I’ve worried about that on Shaula but haven’t detected any movement. I have seen that happen on other sprits, maybe due to a poor fit or no taper? Some cranse irons, especially bronze ones, have a shoulder that increases the bearing surface.

I think the “baby poop” is Dolphinite. It was very challenging removing my crane iron due to the Dolphinite.

Gary

Yes! You are absolutely right, The cranse iron crushed its way into the sprit aft about 1/8" at least. I feel that the sprits shoulder to cranse iron contact area was to skinny and should be proud of the iron by at least an 1/8" so as to give better support as there was just a knifes edge of wood shrouding the iron where it was buried into the sprit.
Increasing the diameter of the sprit 1/4" just behind the iron will change the overall bowsprit’s taper but it’s pretty skinny up there so I don’t think it’s going to make much difference. I think that the shoulder should also be a slight bevel, not making perfectly flat contact with the back edge of the iron should help a little as well as the additional mass.
I guess a bit of a taper where the bowsprit fits into the iron would discourage the iron from moving aft, meaning it would get tighter as it’s driven home.

Ah, the joy of discovering something else to make the job yet more challenging! At least if I shoot for the taper that will tighten as it seats, I will stand less chance of making it too loose again.
I looked very carefully for any signs of side load marks, there were none, all forces aft…Anyhow, the wood’s too soft to support such a small surface area as the back edge of the cranse iron.

There seems to be a huge difference in the density of doug fir, yesterday whilst I was rooting through boards for the project I noticed many pieces that were perhaps 50% heavier than others. I wonder how rot resistance plays into the density/hardness of the boards? I went with average density and straightness of grain as well as dimensional straightness (minimal crown + no cupping).
Instinct tells me that the lighter pieces will glue better but with porous woods such as cedar the wood can soak the glue out of the joint before it has cured.

I have the wood (a bargain at $313) and the project is getting underway this afternoon, any opinions on what is the best wood for the fiddle?

Matt

A retraction, It was pointed out to me that the forum members who were skeptical about a limber hole in the cranse iron or other methods of draining the moisture were right! A boat builder with much spar building experience cautioned me that it would be unwise to “accommodate the moisture” by way of a limber hole or otherwise. He said that there is absolutely no good reason water should get in there unless the sprit is allowed to de-laminate (like mine) allowing passage of moisture to that area. I see the logic.
My apologies for being a hammerhead.

Matt

s/v fiddlers green

I’ve spent a lot of time over the years thinking about our bowsprit/fid/bits arrangement and practical ways to improve it. I think a major problem is the tremendous force exerted aft on the small bearing surfaces. For the fid, there may be a hardwood that can take the pressure without deforming but it’s asking a lot. A number of eucalyptus species are very dense (don’t float) and are a possibility. Some BCCs use delrin or similar, but I like aluminum. My fid is primed and painted and looks like painted wood so there’s no esthetic problem.

The aft force exerted on the bits’ notches is a big concern. Any crushing of the aft side of the notch will open hidden end grain and invite rot in the bits. I would like to see a bronze casting (or perhaps a weldment?) attached to the forward side of the bits that would double or triple the bits’ bearing surfaces.

Update- the new reproduction sprit is almost complete just need fine sanding and sealer. The process was not too bad but certainly as much work as I expected.
Verticle grain Doug Fir is not cheap stuff the 5 boards required to accomplish the project were $320.00 with my discount as a woodworking professional, crazy! Add to that 1 quart of west system epoxy and a bunch of sand paper it is probably close on $370.00
Here’s what I did…

Milled straight 5 planks to stack up to the total required thickness of 5 7/16" wide X 4 7/16" high X 11.5 feet

Made a jig to mill the 1" X 4" mortise for the fid into each board with a 1" plunge router bit.

Cut the aft end design with a jigsaw after drawing it onto each board with a template traced from the original bowsprit.

Stacked the parts two at a time with the mortise aligned as precisely as possible and drill 5/16" holes through for alignment pins made from dowels from the inner boards to a depth of about 1/2" into the face boards and just in the aft area so that the dowels would not come through when the tapers were cut into the sides.

Clamped the whole mess to an I-beam with slow cure epoxy in my shop at about 60 degrees temperature and barely had time to get it together.

The new wood does not hold a candle to the old slow groth timber that was used back in the day my boat was built. If you tap on it is does not have the same ‘ring’ so I have increased the mass somewhat and at the fore end I have increased the shoulder that the cranse-iron drives against to 3/8" from the original 1/4" and instead of making it completely round ahead of the chamfers, I am keeping the top mostly flat. The flat top will be non-skidded and will also be stronger.

Doug fir is bad to work with when it comes to carving. When it’s green it’s not so bad but when it’s dry it is sinewy and likes to splinter. If you go too deep with a router it blows out and when sanding, gentle passes on easing the edges are a must. Sanding also tends to raise the grain badly on the flat sawn areas because the broad areas of pulpwood sand away like balsa but that cant be totally avoided when there are 4 sides to work on. If tighter grained wood was available it would have been a better (easier) job but it’s still good enough and much better than the old one in it’s present condition.

I have taken many pictures of the process if anyone is interested.

The shaping of the rounded fore-end was done first with a bandsaw and then a Jap-saw and then a rasp, the pictures do a better job than words to see how it is marked for cutting. there is a slight taper so that as the cranse-iron slides on it gets tight about 3/8" before it contacts the shoulder and the inside of the shoulder is a very little cove. The worse case scenario to my mind is for the outside edge of the shoulder to bear more than the inside I have tried to fudge it so that the whole shoulder will bear the load once it has found it’s happy place.

Matt F/G

I have been offline for a while but not sure why I am not getting forum emails.

To the subject at hand. I do have a bowsprit in my garage in Galveston. It’s round to accommodate a bowsprite traveller… like Gary Felton’s Shanti. Let me know if anyone is interested.

I have been offline for a while but regardless I am not sure why I don’t get the forum emails. Probably a settings issue.

Anyway to the subject at hand. I do have a bowsprit in my garage in Galveston. It’s round to accommodate a bowsprit traveller… like Gary Felton’s Shanti. Let me know if anyone is interested.

I don’t think my rebuild was over the top. OK, maybe the rug and the sink up forward, and maybe the stained glass :slight_smile:

I bought her in 2000 when she was Sea Star. Hurricane Ike tried to take her in 2008. She was badly damaged but the bones were still good. I took the opportunity to make some changes. I dropped the sole to get 6’3" headroom (no more bumping my bald head). She has a gaff rig with Sitka Spruce spars. The sail plan was designed by Ed Burnett. She has 480 amp hours of house power and no propane.

If you care to take a photo tour of Rose:

I’m attaching this to the bowsprit design discussion as I think the previous discussion applies.

Yesterday I managed to ship the old bowsprit on Vixen (BCC#2). Took two of us with the aid of a winch or two as I don’t think it has been off in the last 20 years.

I would like to do some reshaping to allow for a bowsprit traveller. A big leathered ring that allows you attach the tack of a flying light air sail and run out along the sprit. I’ll have to round the sprit from the gammon iron out. The sprit is laminated CVG Douglas Fir so she is really heavy, and I’m thinking a bit of a weight saving would be a plus. I’ve seen how David replaced the sprit on BCC Rose with a reshaped Spruce sprit. That would indicate the sprit on Vixen may be a bit stronger than needed. Anyone have an idea what diameter I could take the sprit down to without compromising the needed strength. I’m also like to be able to ship the sprit easily as her proposed home port is really small.

Second question, anyone have an idea how to get the kranze iron off the tip and be kind to the wood?

I’ve attached an old photo of Vixens bowsprit to give an idea of the shape. She may be a little different as she carries Craig Johnson’s design for a gaff rig.

1 Like

Vixen,
As I mentioned in a previous post I have an unused Sitka Spruce bowsprit that is rounded to accommodate a bowsprit traveller. Rose’s gaff rig sail plan and spars were designed by the late Ed Burnett so the bowsprit dimensions are probably not the same as Lyle Hess’s original gaff rig design. In any event mine is 8.95 feet long and 4.7 inches in diameter at the base tapering to 3.5 inches at the bow end.

My bowsprit is in my garage in Galveston Tx. If you can use it on Vixen you can have it. Let me know.