Near the end of 2010, we removed the water tanks from the aft compartment and beneath the cabin sole so that we could replace them.
We took this opportunity to clean and recoat the bilge from stem to stern, including the chain locker and hull inside the forepeak.
The bilge, especially aft, but also in the saloon, was greasy and utterly disgusting.
After sponging out the gelatinous mess, we used used Krud Cutter™, Boat Zoap™, and West Marine Bilge Cleaner™ on mops to get the bilge as clean as we could. We followed this with several rounds of powerwashing using Krud Cutter™.
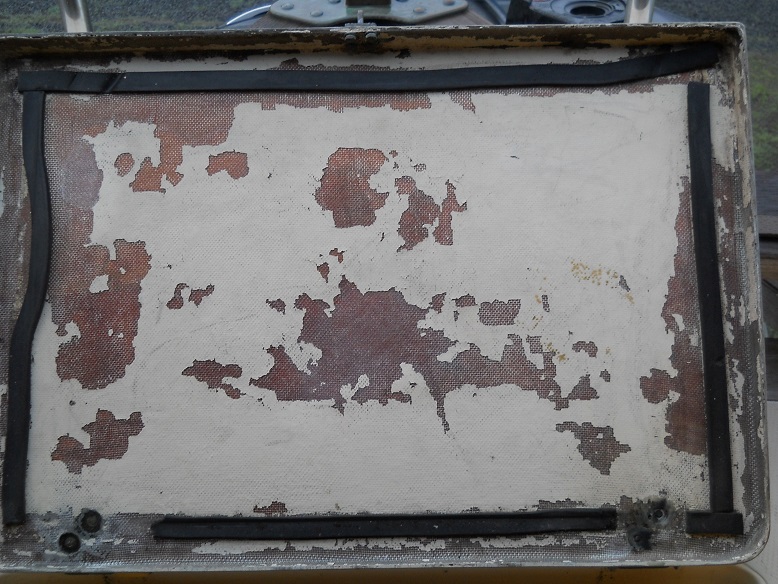
Scrubbing the bilge to remove all possible grease was a challenge. But we did our best. Much, though not all, of the paint flaked off as we cleaned and degreased the bilge.
Finally, we wiped everything down with cloth rags moistened with Interlux 202™, sanded with 80-grit sandpaper, and wiped again with the 202.
We chose a two-part epoxy for recoating. We ordered a supply of WaterGard 300, an “Immersion Grade Cycloaliphatic Epoxy,” from Progressive Epoxy Polymers (http://www.epoxyproducts.com). We ordered two gallons of the Part A white pigmented base, plus 1 gallon of the Part B catalyst. Paul Oman has a very helpful website and communicated well via email while we were researching coatings. The WaterGard 300 is low in VOCs and was not unpleasant to work with — even in the cramped, unventilated confines behind the engine — but the Xylol we added to thin the WaterGard, even in the small amounts we used, was very irritating and required opening hatches to vent while working.
The amount of two-part epoxy we ordered was just enough to do the bilge throughout plus the chain locker and forepeak hull walls and overhead. We laid the epoxy on much thicker in the aft bilge and cabin sole, and thinner for the forward portions.
We used a VSR electric drill with a mixing bit to blend the ingredients. The mixture is very thick and the drill must be driven at a very slow speed, or it will splatter. For cutting in around hoses and in tight spots, I used cheap disposable hardware-store chip brushes, tossing them after each session. For large areas, I used a roller made for epoxy paint.
All of this was a one-person job (that one person being me) until we got to the forepeak. There, because of the poor ventilation, we had one person preparing the epoxy mixture and handing it in to the other person to apply, because we didn’t want to spend any more time in the forepeak than necessary because of the fumes. We needed to trade places and take frequent breathing breaks. The fumes from the Xylol were close to unbearable during this last bit.
Four and a half years later, the bilge, cabin sole, head sole, and chain locker are holding up very well. Still glossy white, and not flaking. But the forepeak hull walls and overhead are flaking off in large sheets. We speculate that this is because we didn’t spend enough time degreasing and using solvents in there, because of the poor ventilation. If we were to do it again, we would definitely take more care with that. But we are extremely happy with the job where it counts: Underneath our new water tanks and in the area around our bilge pumps, which needs to be as clean and grease-free as possible.
Hope this is informative.
Ellen Dawson
BCC “Jolie Brise”
HN 69