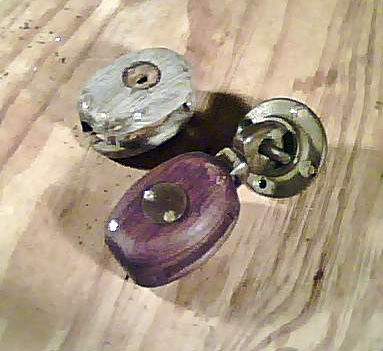
The old cheeks and the new teak cheeks fitted to a staysail sheet lead block.
1 Like
Hello Rod,
Curious what wood you used. It has a purple look to it in the photo.
Good project anytime you can replace plastic with wood. As an old Dutch sailor used to say about his boat “vood is gooood”
Best
Mark
SV “lightfoot”
Mark:
I built the cheeks out of teak then soaked the cheeks for about 6 hours in Watco Teak Oil Finish (WTOF). WTOF dries to a hard finish and seals the wood. The checks are built from four pieces (two side blanks and two end pieces). These were bonded together with epoxy. After shaping the cheeks, I “pinned” the pieces with 1 1/2" rose head copper boat nails. A pilot hole was drilled and the square copper nail was lubricated with WTOF then driven into the wood. If the nails are not lubricated, the wood may split - experience.
The project was easier than I expected. The original blocks were made in Lunenburg, Canada.
Rod
1 Like
The block was made by Dauphinee & Sons Ltd., Lunenburg, Nova Scotia. They no longer build blocks with roller bearing bronze sheaves, hence the reason I refurbished the two staysail blocks.
1 Like
Nice looking block when finished. I saved a number of the old Southcoast blocks with the rubberized shells. They all have the bronze frame and roller bearings.
Making up new cheeks from Black Locust they came out nice as well. These old blocks with the bronze bearings were overbuilt and continue to give excellent service …not to mention that they look great!
Best to you
Mark
SV “Lightfoot”
1 Like
Rod,
A question about refurbishing old wood blocks. I have a number of them, mostly oak, some teak and I think lignum vitae that are in fine condition except for the end pieces which I would like to replace. They have cracked and split. I sacrificed the worst of the lot looking for a way to remove the four corner pins without marring the side pieces. Failed miserably. Do you know of a way to pull the pins while retaining the condition of the side pieces?
Also, I believe you have a wooden triple on Iduna’s boom in your mainsheet arrangement. I’ve been looking for one but have not had any luck finding a source them. Any makers you can recommend?
1 Like
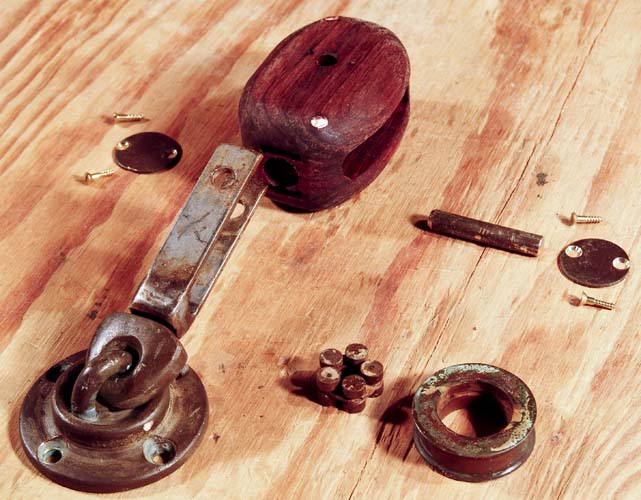
The old Dauphinee blocks were pinned with four threaded bronze self-tapping screws/pins. The pin shank is of constant diameter and the threads remind me of sheet rock screw threads. I image, a pilot hole was made and the threaded pin driven in with either a drill press or screw gun. Once in place any protruding end was trimmed off flush with the block. I suspect these were custom made for Dauphinee. Removing them without destroying the block cheeks is impossible.
Building the shell for these blocks is relatively easy. I do have a contractor’s table top saw, a router/table and thickness planer which made the job go faster. One could build these shells with just a router or table top and/or hand tools. The wood would need to be planed to thickness at the mill/shop where you purchased it. This is a nominal cost. Once I had the shell blanks glued together, I drew the outline of the shell on one cheek of the blank, rough cut the corners on the table top, then shaped the block shell to the outline with an angle grinder fitted with a sanding disc. Once the shell was shaped, I bull-nosed the edges of cheeks with a 1/2" bull-nose router bit. The final finishing was done with files and sandpaper. Once the edges are bull-nosed over, any irregularities when the shell was shaped to its outline disappear after the shell is sanded.
Note: It’s important to drill one sheave pin hole in a cheek blank before gluing the shell together. To do this, lay the block’s straps in the routered grove of the shell and drill the hole using the holes in the strap as a guide. After the shell is assembled, I inserted the block straps in the shell, aligned the hole in the shell with the hole in the strap then drilled through the shell using the previous made hole in the shell side as a guide.
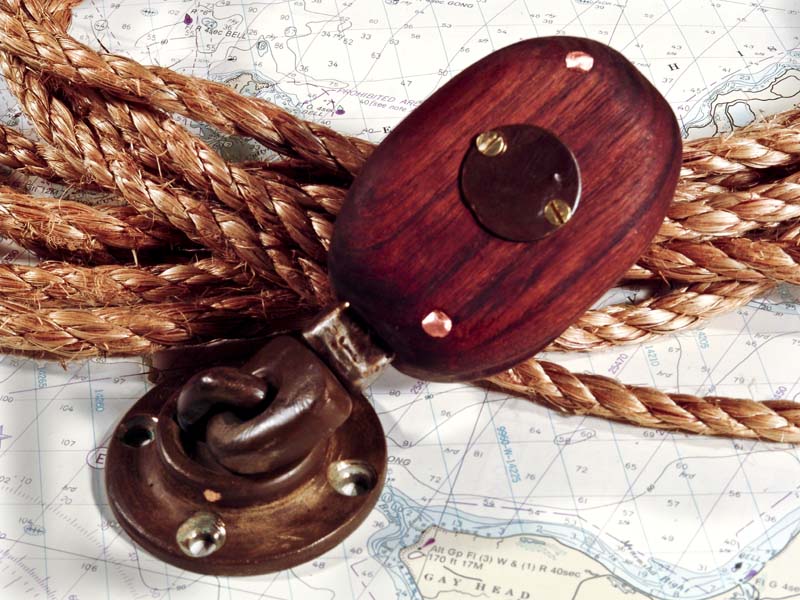
The shell of the block shown is 1 3/4" thick. I pinned the shell with 1 1/2" rose head copper nails. It’s important to pilot hole before driving the pin. I also put a few drops of Watco Teak Oil finish in each hole and coated the square copper nails with WTO before driving them into the shell. If you do not do this, the shell will split. This happened to me the first time I drove a pin. Because the split was not all the way through the wood, I pinned the split with two rose head nails, then decided to build a new shell and keep the split shell as a spare. I can build a few shells of the same dimension in about 3 to 4 hours now.
I finished the shells by soaking them in WTO for 6 to 8 hours.
I plan to post photos of the process in IDUNA’s gallery soon. When I post the photos, I will write instructions for building these shells (outline form). My purpose for taking photos of these projects is to encourage others to build their own “stuff” and to serve as an instructional reference.
Conrad blocks, Australia make a triple wooden block but I do not want to ask the price. http://www.conradblocks.com/ . There is also a company in Denmark that makes wooden blocks but I do not have the link. R&W rope also sells wooden blocks. http://www.rwrope.com/traditional_rigging/traditional_rigging.htm. Allen C Rawls, Inc. Baltimore, sells wooden ship blocks and Roblon rope http://www.shipsofwood.com/rope.asp .
Fair Winds,
BCC IDUNA
P.S. Mark, way to go building block shells out of Black Locust. They must look beatiful. These old blocks are well built and it’s a shame to through them out. Further, they are part of the age-of-sail and we keep this wonderful old technology alive.
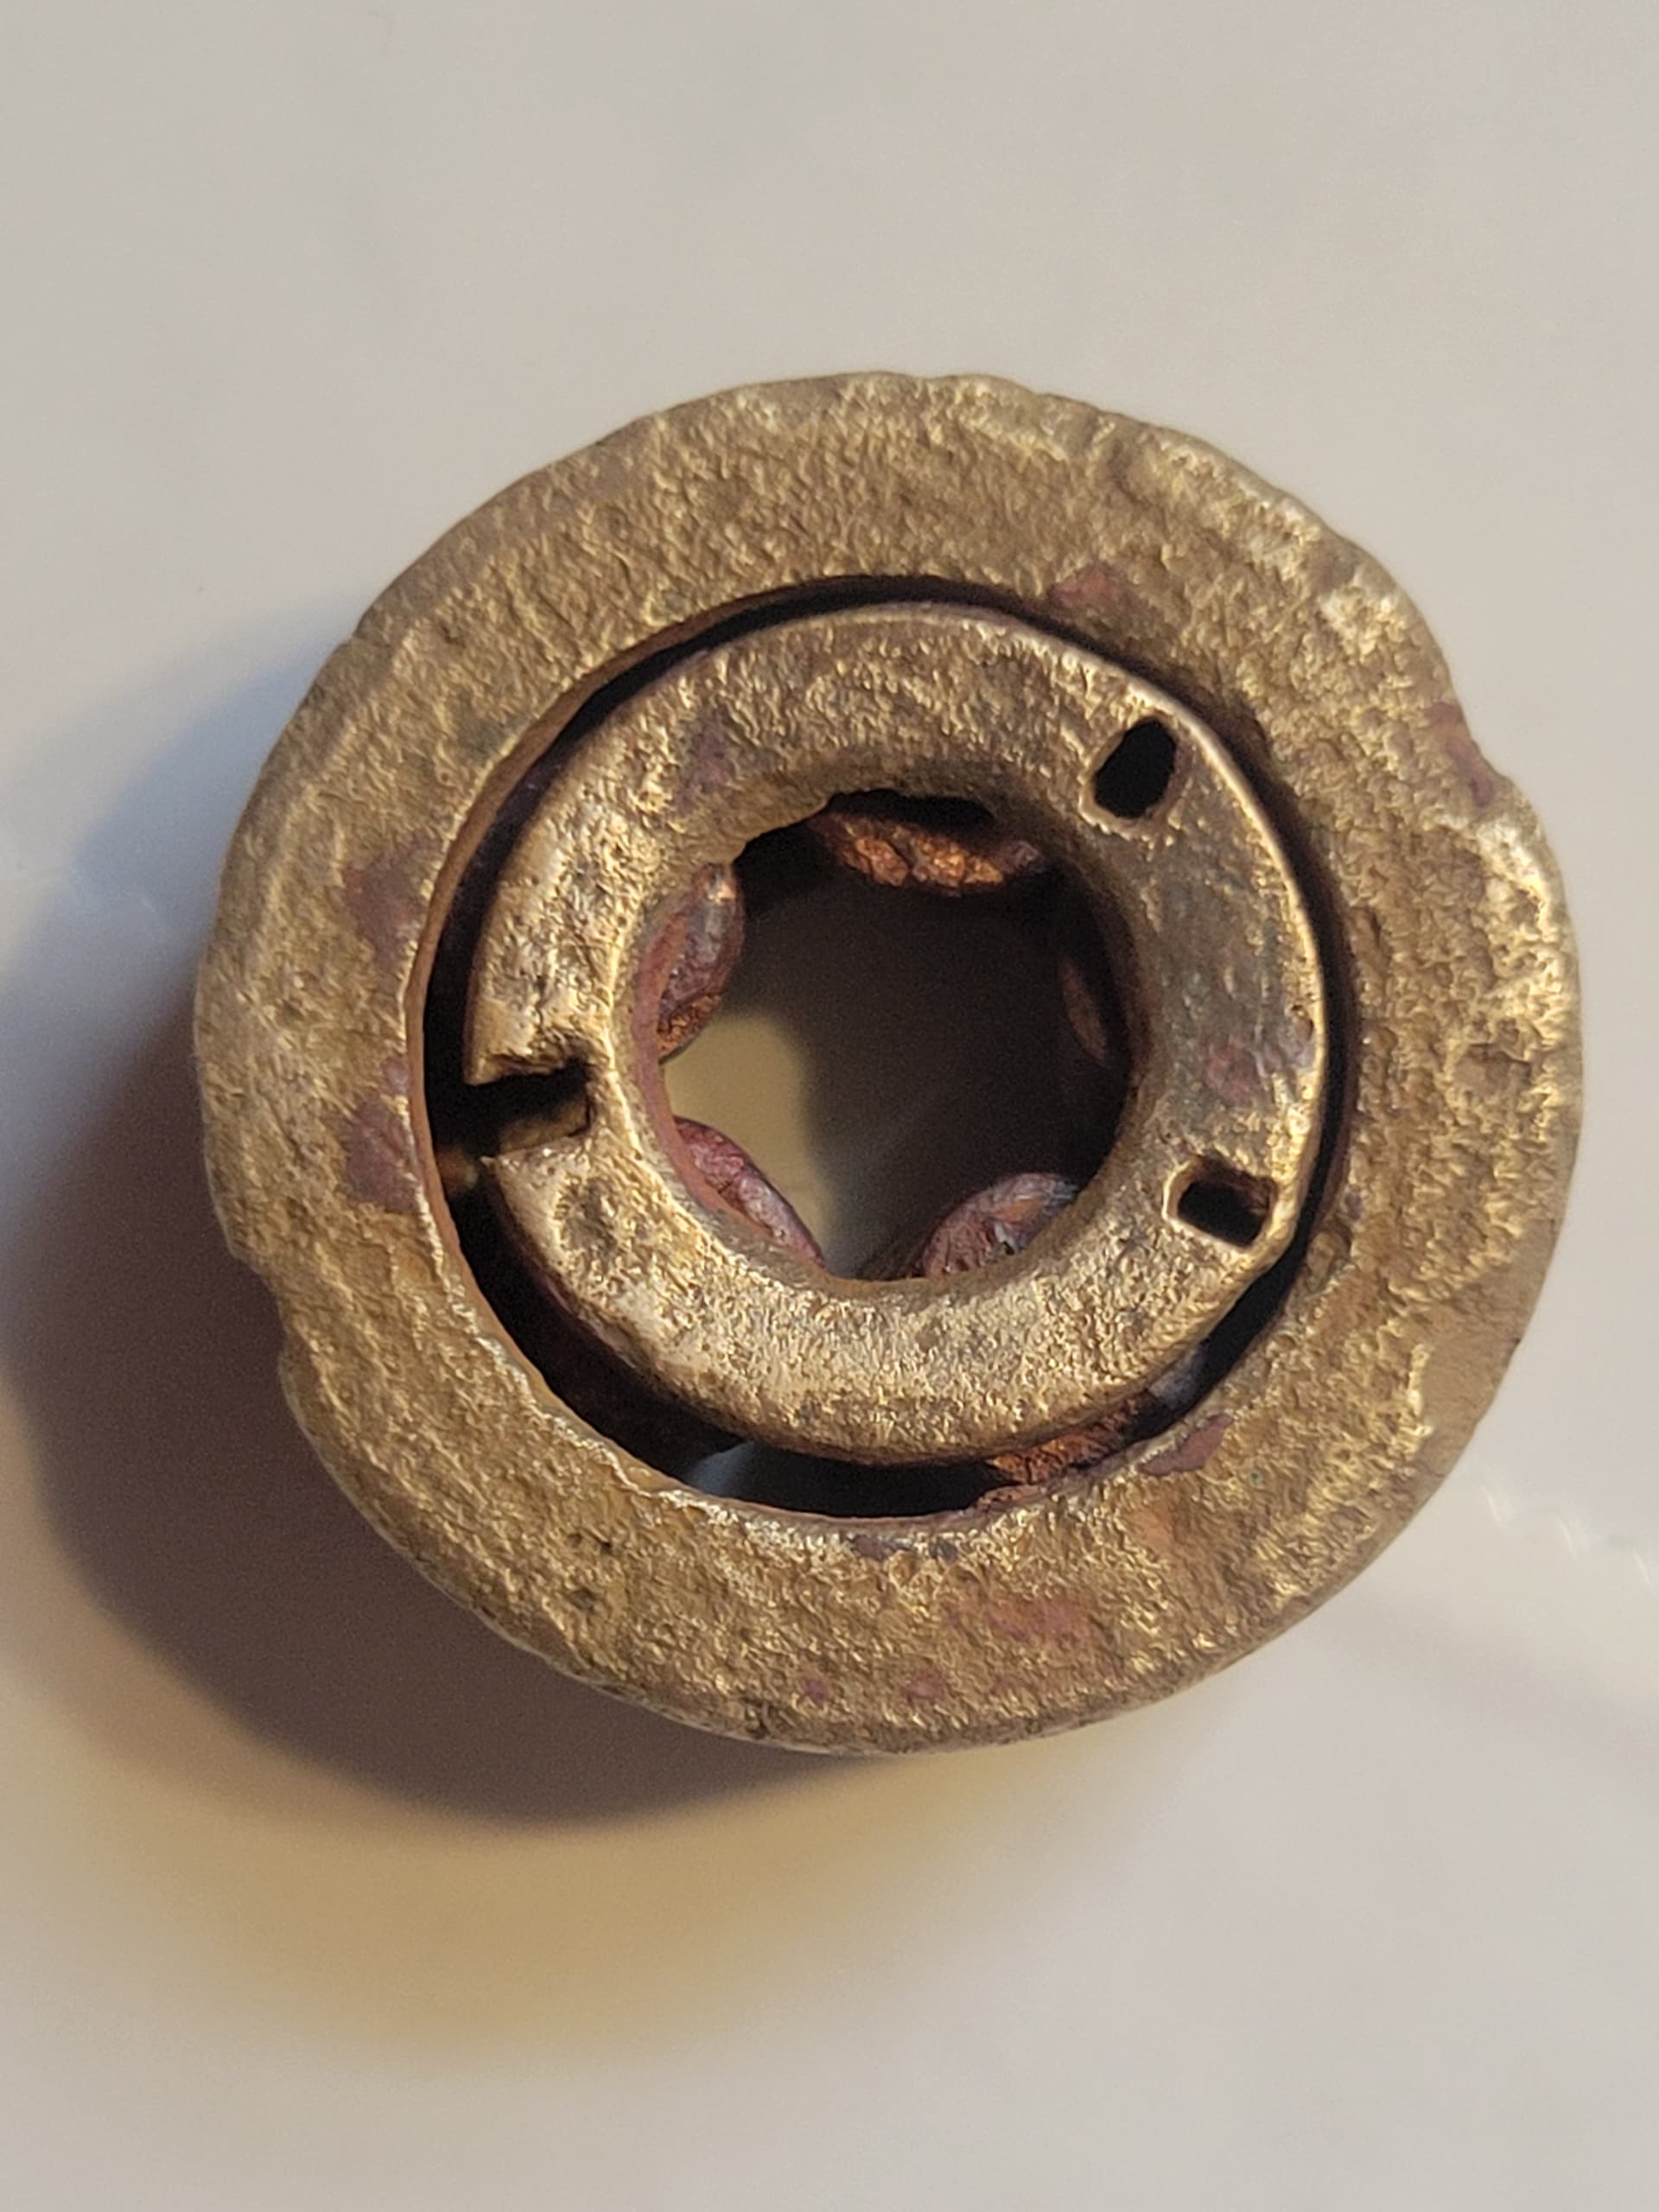
Hi ! I was wondering what time period and which countries design made this internal brass roller bearing and bronze rollers? I can only post one picture at this time do to the new member limitations.. the inner rollers are trapped on either side by the inner pieces and the rollers do not share a center frame..
1 Like